AUTO-DRAFT
ED – Wireless eddy current flaw detector
Ergonomic compact flaw detector combining reliability, wide functionality and ease of use.
Purpose
Detection and depth measurement of surface cracks in products from ferromagnetic steels and cast iron, aluminium, titanium alloys and low magnetic corrosion-resistant steels.
Features
– inspection through coatings or contamination, including variable thicknesses
– selection of material of the inspected object
– acoustic alarm and vibration alarm when the threshold is exceeded
– display of crack depth with resolution of 0.01 mm
– Bluetooth wireless connection to smartphones and tablets
– can be equipped with a secure tablet
Delivery set
eddy current flaw detector, charging device with USB-C cable, operating manual, secure tablet (supplied on customer request), reference artificial defects samples (supplied on customer request), case for storage and transport.
Basic technical characteristics
| Display and signalization | Colour LCD display,
acoustic alarm, vibration alarm |
| Resolution of crack depth display | 0.1 mm |
| Range of operating temperature | -20…+50 °С |
| Power supply | Built-in Li-ion rechargeable battery |
| Continuous operation time | 12 h |
| Charger connection | socket USB-C |
ED – Wirele ss eddy current flaw detector
Ergonomic compact flaw detector combining reliability, wide functionality and ease of use.
Purpose
Detection and depth measurement of surface cracks in products from ferromagnetic steels and cast iron, aluminium, titanium alloys and low magnetic corrosion-resistant steels.
Features
– inspection through coatings or contamination, including variable thicknesses;
– selection of material of the inspected object;
– acoustic alarm and vibration alarm when the threshold is exceeded;
– display of crack depth with resolution of 0.01 mm;
– Bluetooth wireless connection to smartphones and tablets;
– can be equipped with a secure tablet.
Delivery set
eddy current flaw detector, charging device with USB-C cable, operating manual, secure tablet (supplied on customer request), reference artificial defects samples (supplied on customer request), case for storage and transport.
Basic technical characteristics
| Display and signalization | Colour LCD display, acoustic alarm, vibration alarm |
| Resolution of crack depth display | 0.1 mm |
| Range of operating temperature | -20…+50 °С |
| Power supply | Built-in Li-ion rechargeable battery |
| Continuous operation time | 12 h |
| Charger connection | socket USB-C |
Flaw detector versions
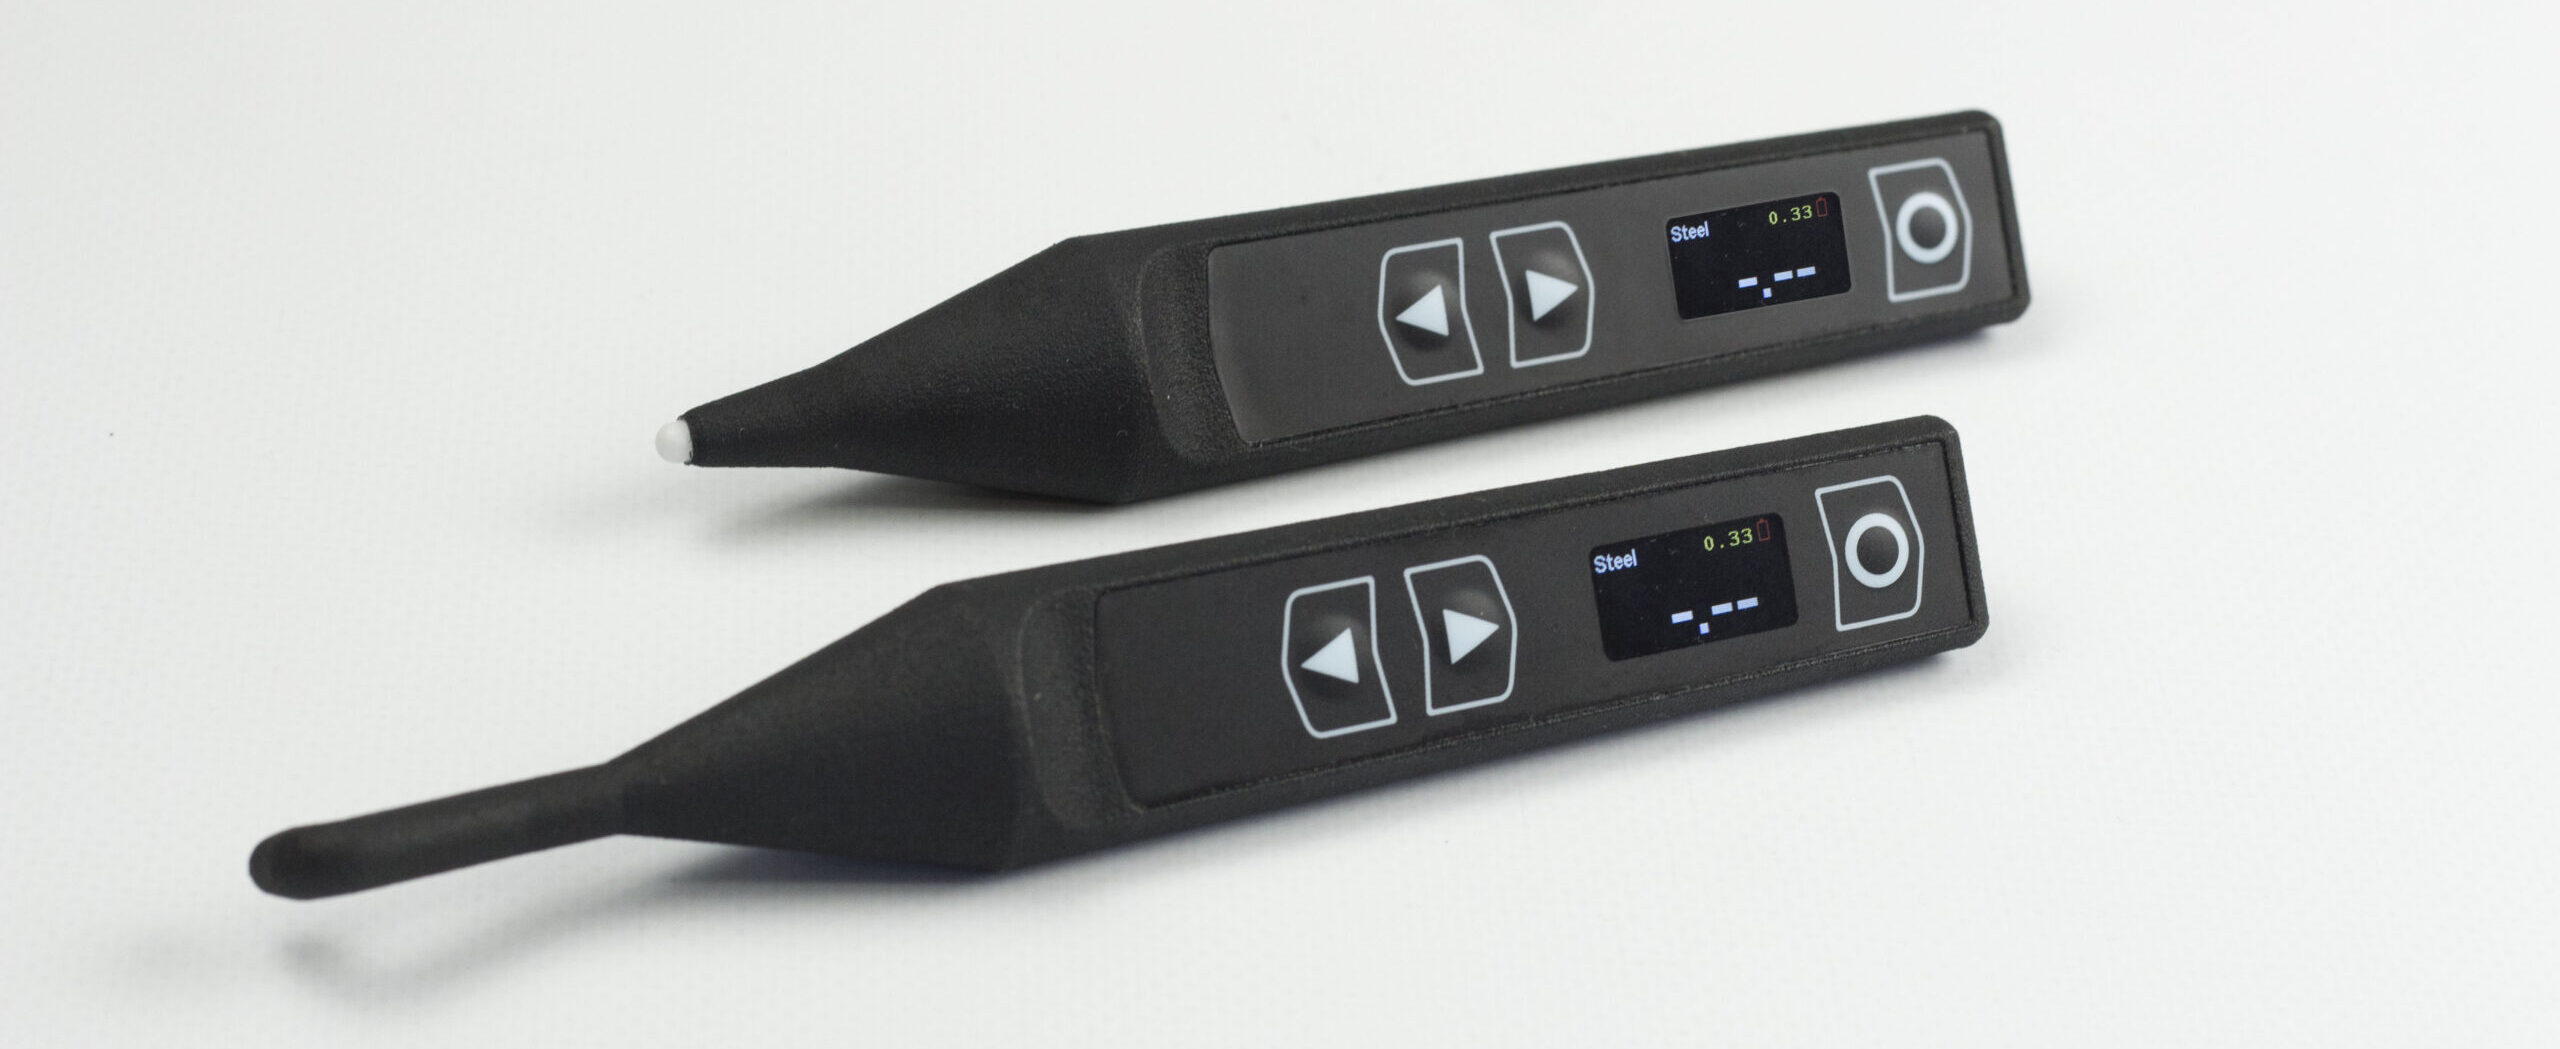 ED-1mm and ED-1mm-R
Purpose
Eddy current flaw detector with high-local sensitive element designed for detection and depth measurement of short surface defects on smooth and rough surface.
| Type of sensitive element | absolute | |
| Diameter of sensitive elements | 1 mm | |
| Radius of area of influence | 5 mm | |
| Minimum size of detectable defects | depth 0.15 (0.05*) mm | |
| length, 2 mm | ||
| Defect depth measurement range | from 0.2 to 2 mm | |
| Main permissible error of defect depth measurement | ± (15 % + 0.1) mm | |
| Minimum length of defects when measuring their depth | 8 mm | |
| Maximum coating thickness | at which defect depth measurement with the declared measurement error is ensured | 0.3 mm |
| at which defect detection is ensured | 0.5 mm | |
| Maximum surface roughness | Rz 20 µm | |
| Scanning speed | when detecting defects | from 3 to 150 mm/s |
| when measuring depth of defects | up to 10 mm/s | |
| Overall dimensions | ED-1mm | 156 х 28 х 27 mm |
| ED-1mm-R | 180 х 28 х 27 mm | |
* – for the material group of inspected objects Steel
ED-3mm and ED-3mm–R

Purpose
Detection and depth measurement of defect on rough surface.
| Type of sensitive element | absolute | |
| Diameter of sensitive element | 3 mm | |
| Radius of area of influence | 15 mm | |
| Minimum size of detectable defects | depth 0.2 (0.1*) mm | |
| length, 6 mm | ||
| Defect depth measurement range | from 0.5 to 5 mm | |
| Main permissible error of defect depth measurement | ± (15 % + 0.2) mm | |
| Minimum length of defects when measuring their depth | 25 mm | |
| Maximum coating thickness | at which defect depth measurement with the declared measurement error is ensured | 1 mm |
| at which defect detection is ensured | 1.5 mm | |
| Maximum surface roughness | Rz 320 µm | |
| Scanning speed | when detecting defects | from 10 to 500 mm/s |
| when measuring depth of defects | up to 50 mm/s | |
| Overall dimensions | ED-3mm | 149 х 28 х 27 mm |
| ED-3mm-R | 163 х 28 х 36 mm | |
* – for the material group of inspected objects Steel
 ED-6mm
Purpose: detection and depth measurement of defects on very rough surfaces, depth measurement of deep defects.
| Type of sensitive element | absolute | |
| Diameter of sensitive element | 6 mm | |
| Radius of area of influence | 30 mm | |
| Minimum size of detectable defects | depth 1 (0.3*) mm | |
| length, 12 mm | ||
| Defect depth measurement range | from 1 (0.5*) to 10 mm | |
| Main permissible error of defect depth measurement | ± (15 % + 0,5) mm | |
| Minimum length of defects when measuring their depth | 50 mm | |
| Maximum coating thickness | at which defect depth measurement with the declared measurement error is ensured | 2 mm |
| at which defect detection is ensured | 3 mm | |
| Maximum surface roughness | Rz 640 µm | |
| Scanning speed | when detecting defects | from 20 to 1000 mm/s |
| when measuring depth of defects | up to 100 mm/s | |
| Overall dimensions | 154 х 28 х 27 mm | |
* – for the material group of inspected objects Steel
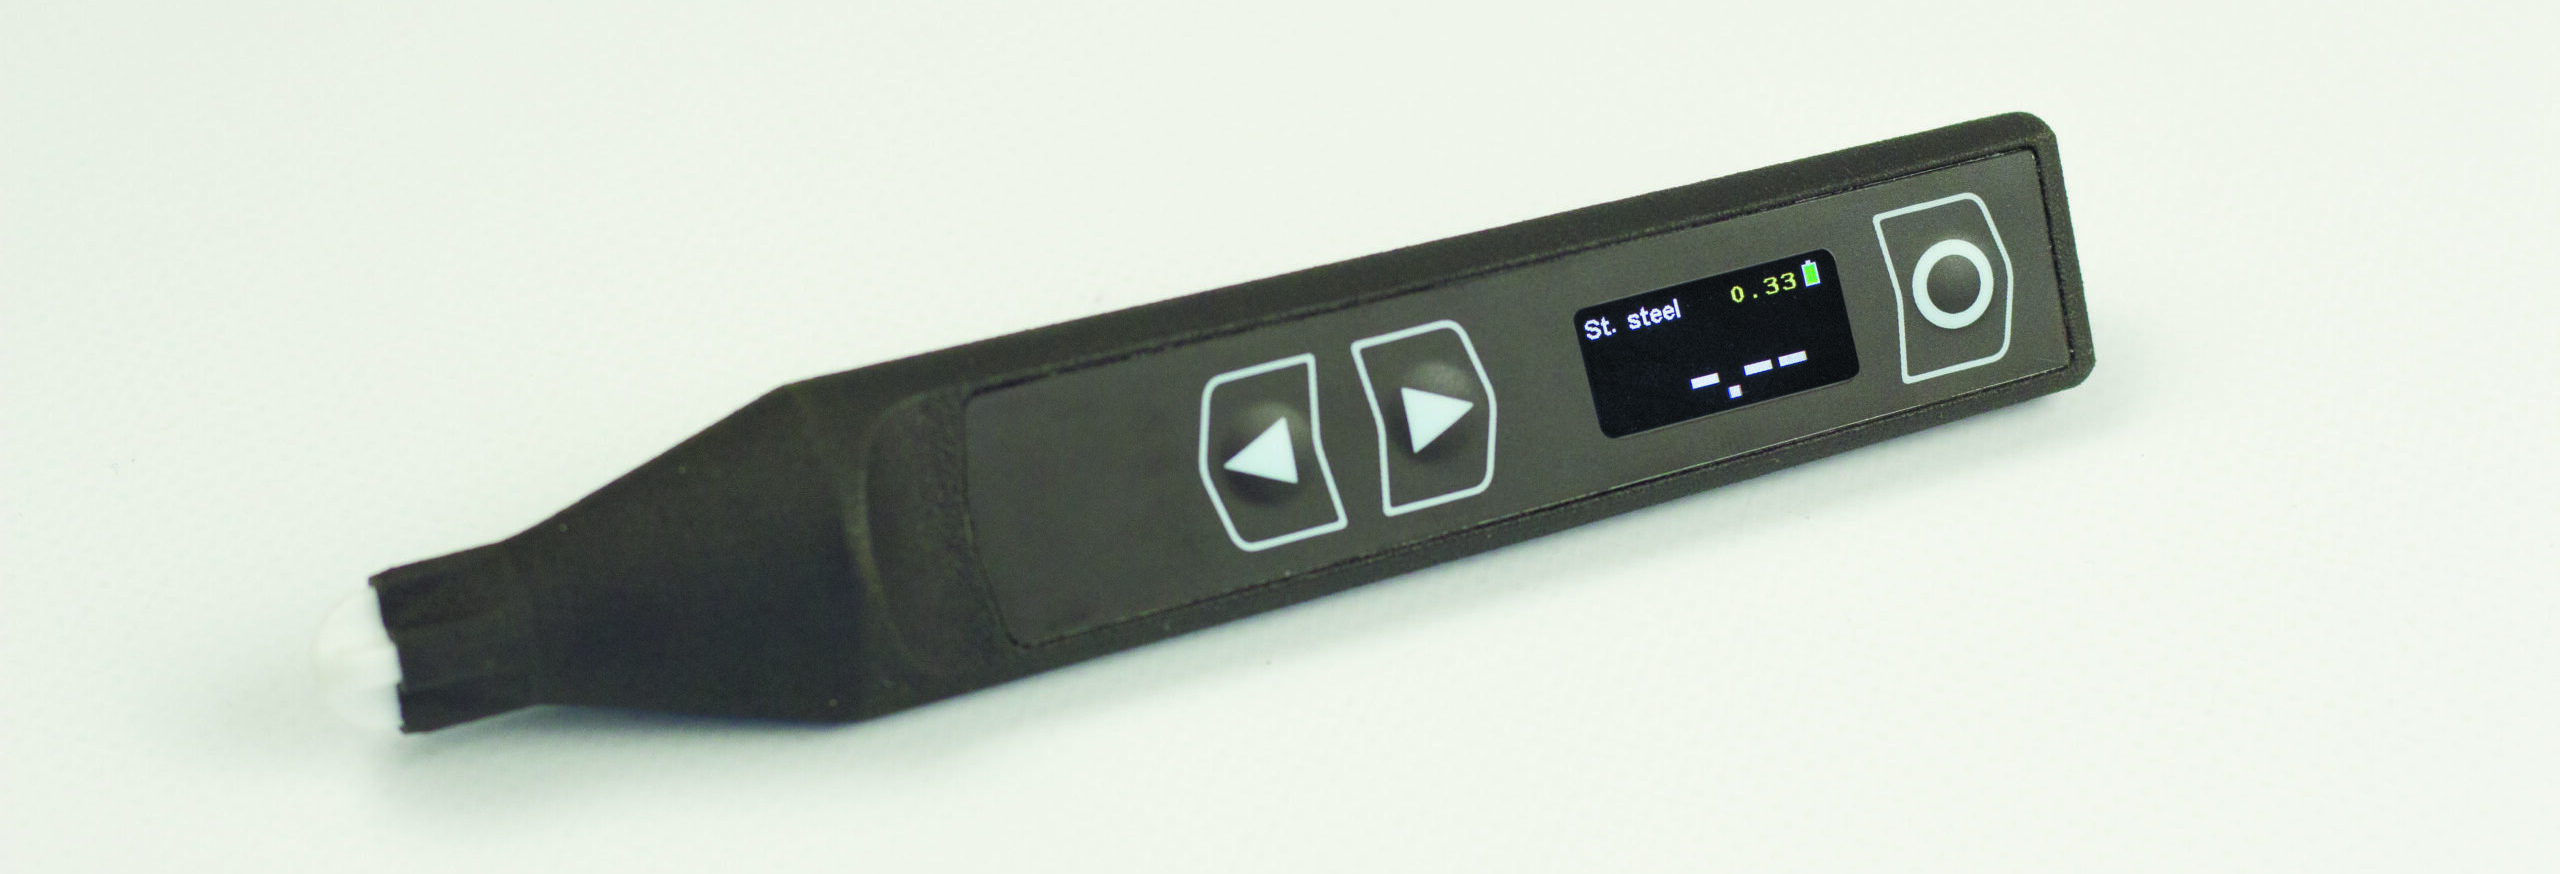 ED-W10mm
Purpose: detection and measurement of defect depths in objects with highly inhomogeneous electromagnetic properties and rough surfaces, such as weld seams, near seam zone and heat affected zone.
| Type of sensitive element | In accordance with ISO 17643 | |
| Diameter of sensitive element | 10 mm | |
| Radius of area of influence | 30 mm | |
| Minimum size of detectable defects | depth 0.5 mm | |
| length, 10 mm | ||
| Defect depth measurement range | from 0.5 to 10 mm | |
| Main permissible error of defect depth measurement | ± (20 % + 0.5) mm | |
| Minimum length of defects when measuring their depth | 30 mm | |
| Maximum coating thickness | at which defect depth measurement with the declared measurement error is ensured | 1 mm |
| at which defect detection is ensured | 2 mm | |
| Maximum surface roughness | Non standardized | |
| Scanning speed | when detecting defects | from 10 to 500 mm/s |
| when measuring depth of defects | up to 50 mm/s | |
| Overall dimensions | 152 х 28 х 27 mm | |
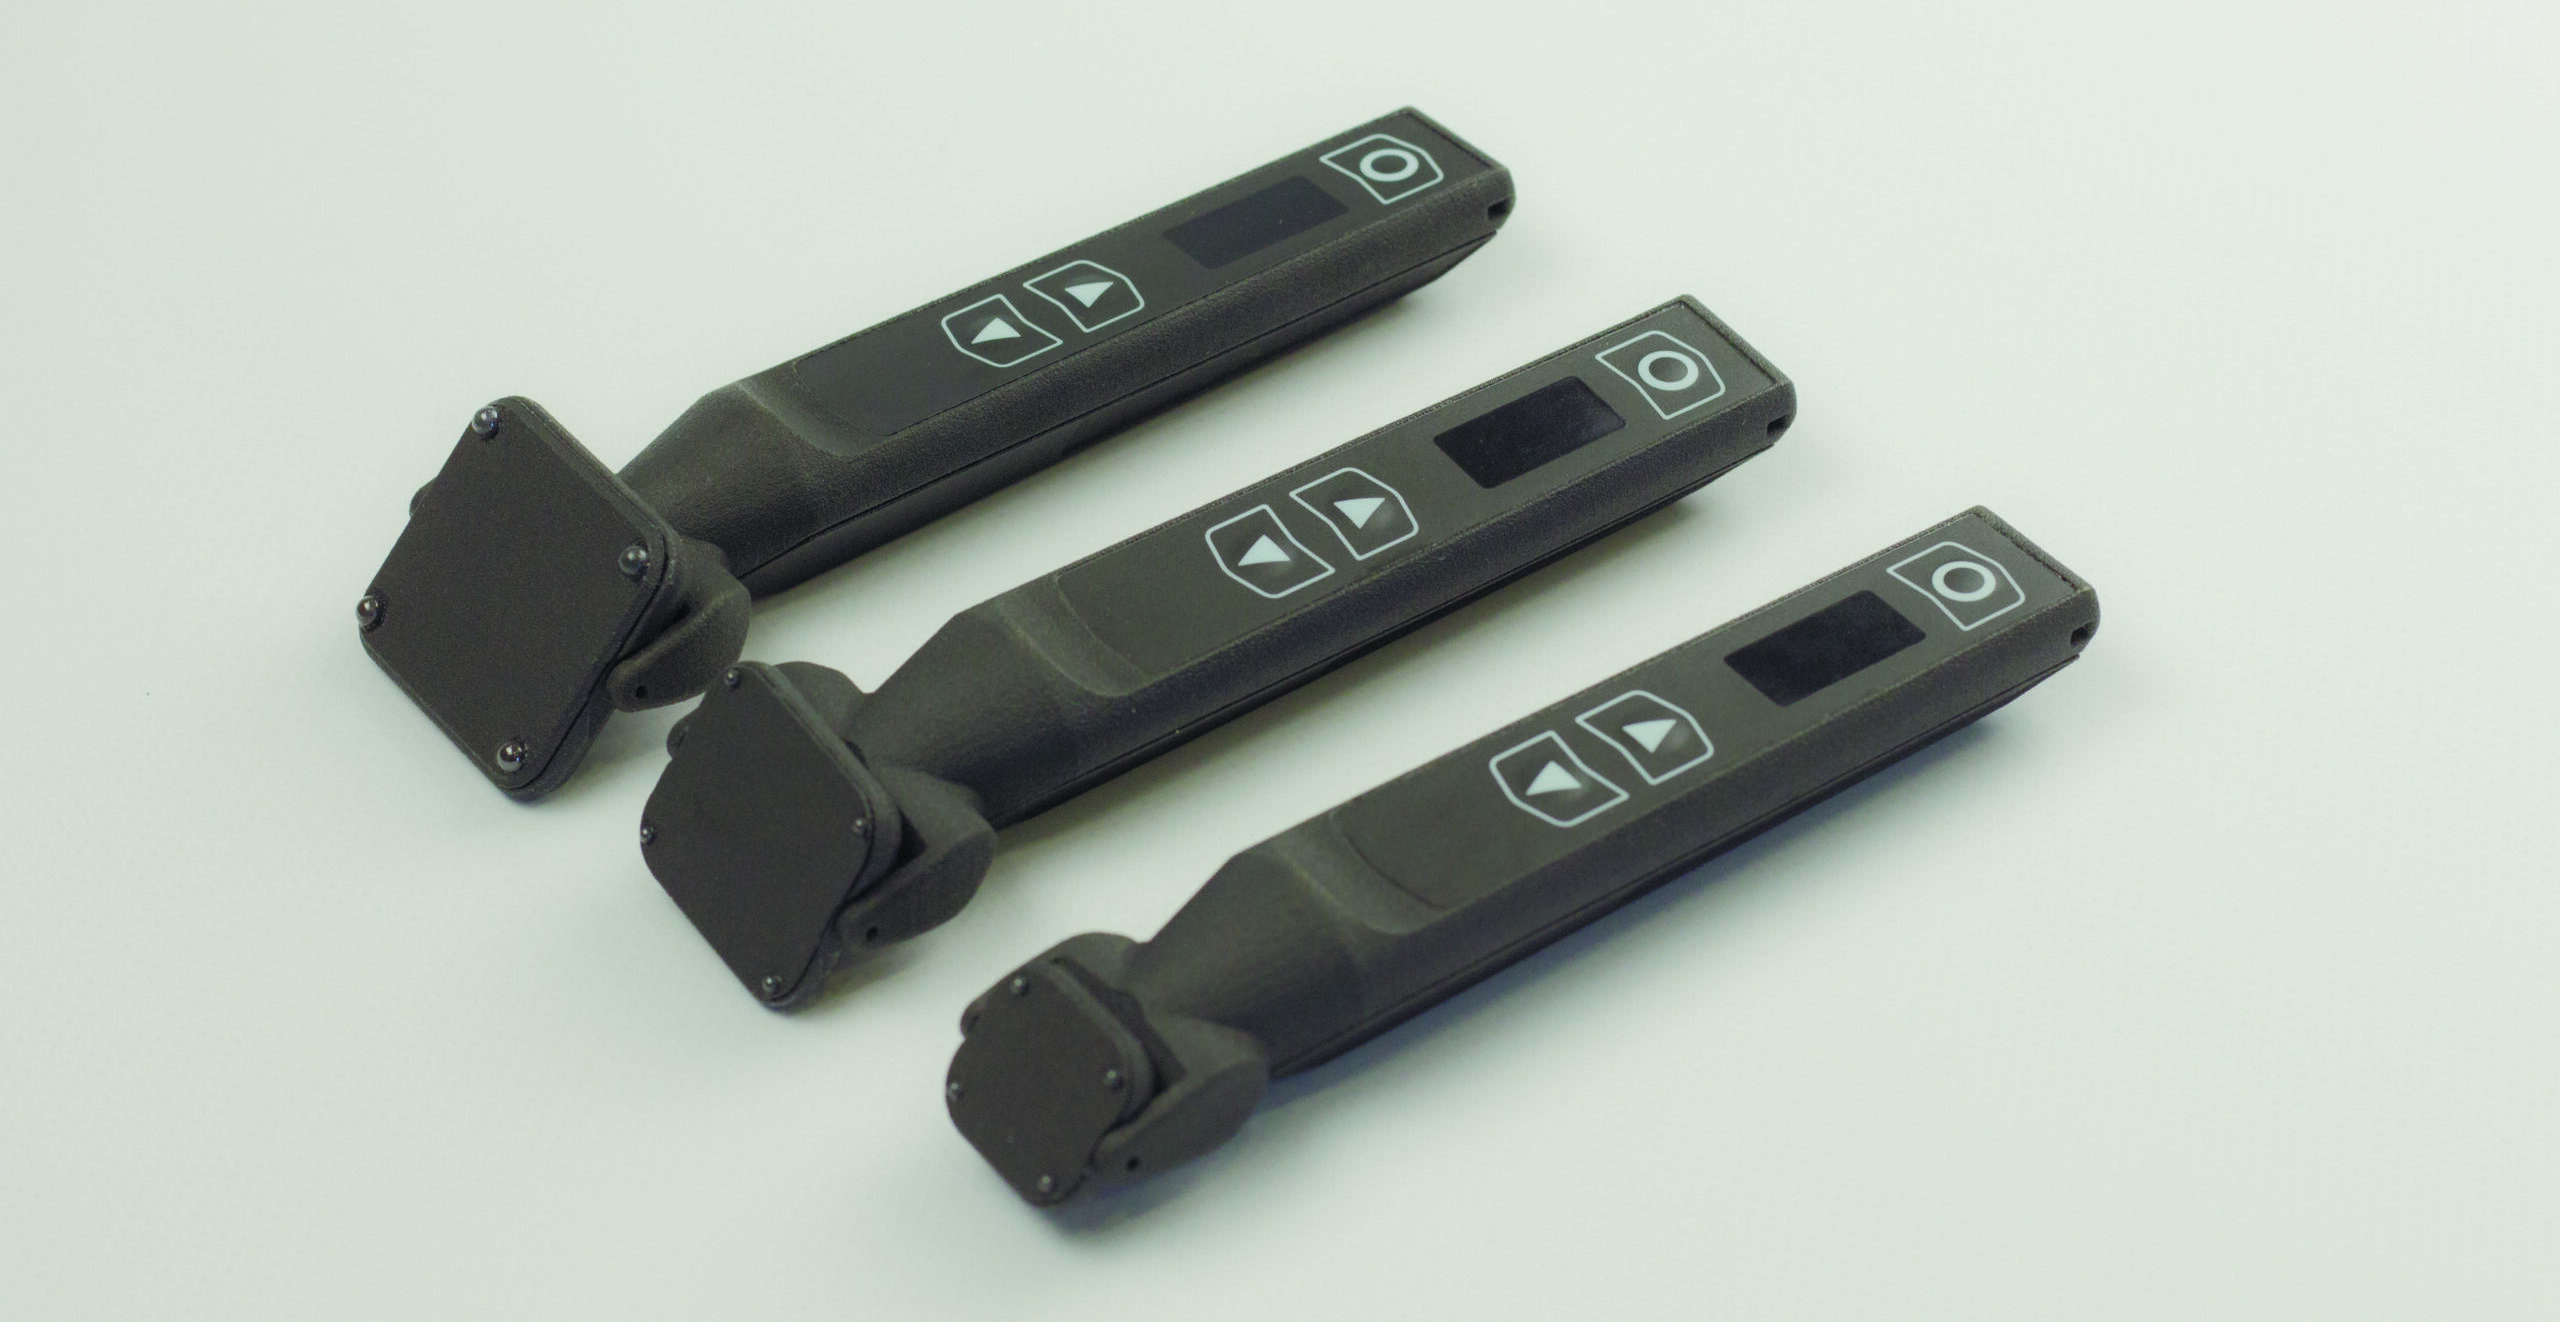 ED-L20mm, ED-L30mm, ED-L40mm
Purpose: wide-coverage transducer designed for detection and measurement of defect depth on objects of large area.
| Version | ED-L20mm | ED-L30mm | ED-L40mm | |
| Type of sensitive element | Differential | |||
| Diameter of sensitive element | 20 mm | 30 mm | 40 mm | |
| Radius of area of influence | 40 mm | 60 mm | 80 mm | |
| Minimum size of detectable defects | depth 0.5 mm | depth 1 mm | depth 2 mm | |
| length 10 mm | length 15 mm | length 20 mm | ||
| Defect depth measurement range | from 0.5 to 5 mm | from 1 tо 10 mm | from 1 to 10 mm | |
| Main permissible error of defect depth measurement | ± (20 % + 0.5) mm | |||
| Minimum length of defects when measuring their depth | 20 mm | 30 mm | 40 mm | |
| Maximum coating thickness | at which defect depth measurement with the declared measurement error is ensured | 2 mm | 3 mm | 4 mm |
| at which defect detection is ensured | 4 mm | 6 mm | 8 mm | |
| Maximum surface roughness | Rz 160 µm | Rz 640 µm | Rz 640 µm | |
| Scanning speed | when detecting defects | from 20 to 1000 mm/s | from 30 to 1500 mm/s | from 40 to 2000 mm/s |
| when measuring depth of defects | up to 10 mm/s | up to 15 mm/s | up to 20 mm/s | |
| Overall dimensions | 147 х 30 х 28 mm | 148 х 40 х 29 mm | 150 х 50 х 38 mm | |
CORONA 40 – Holiday detector
Corona 40 is a portable autonomous device for detecting pores, scratches, cracks, chips, tears, leaks and other defects in protective dielectric coatings with the application of pulsed high voltage while an electric spark is fixed by the device in the place of defect.
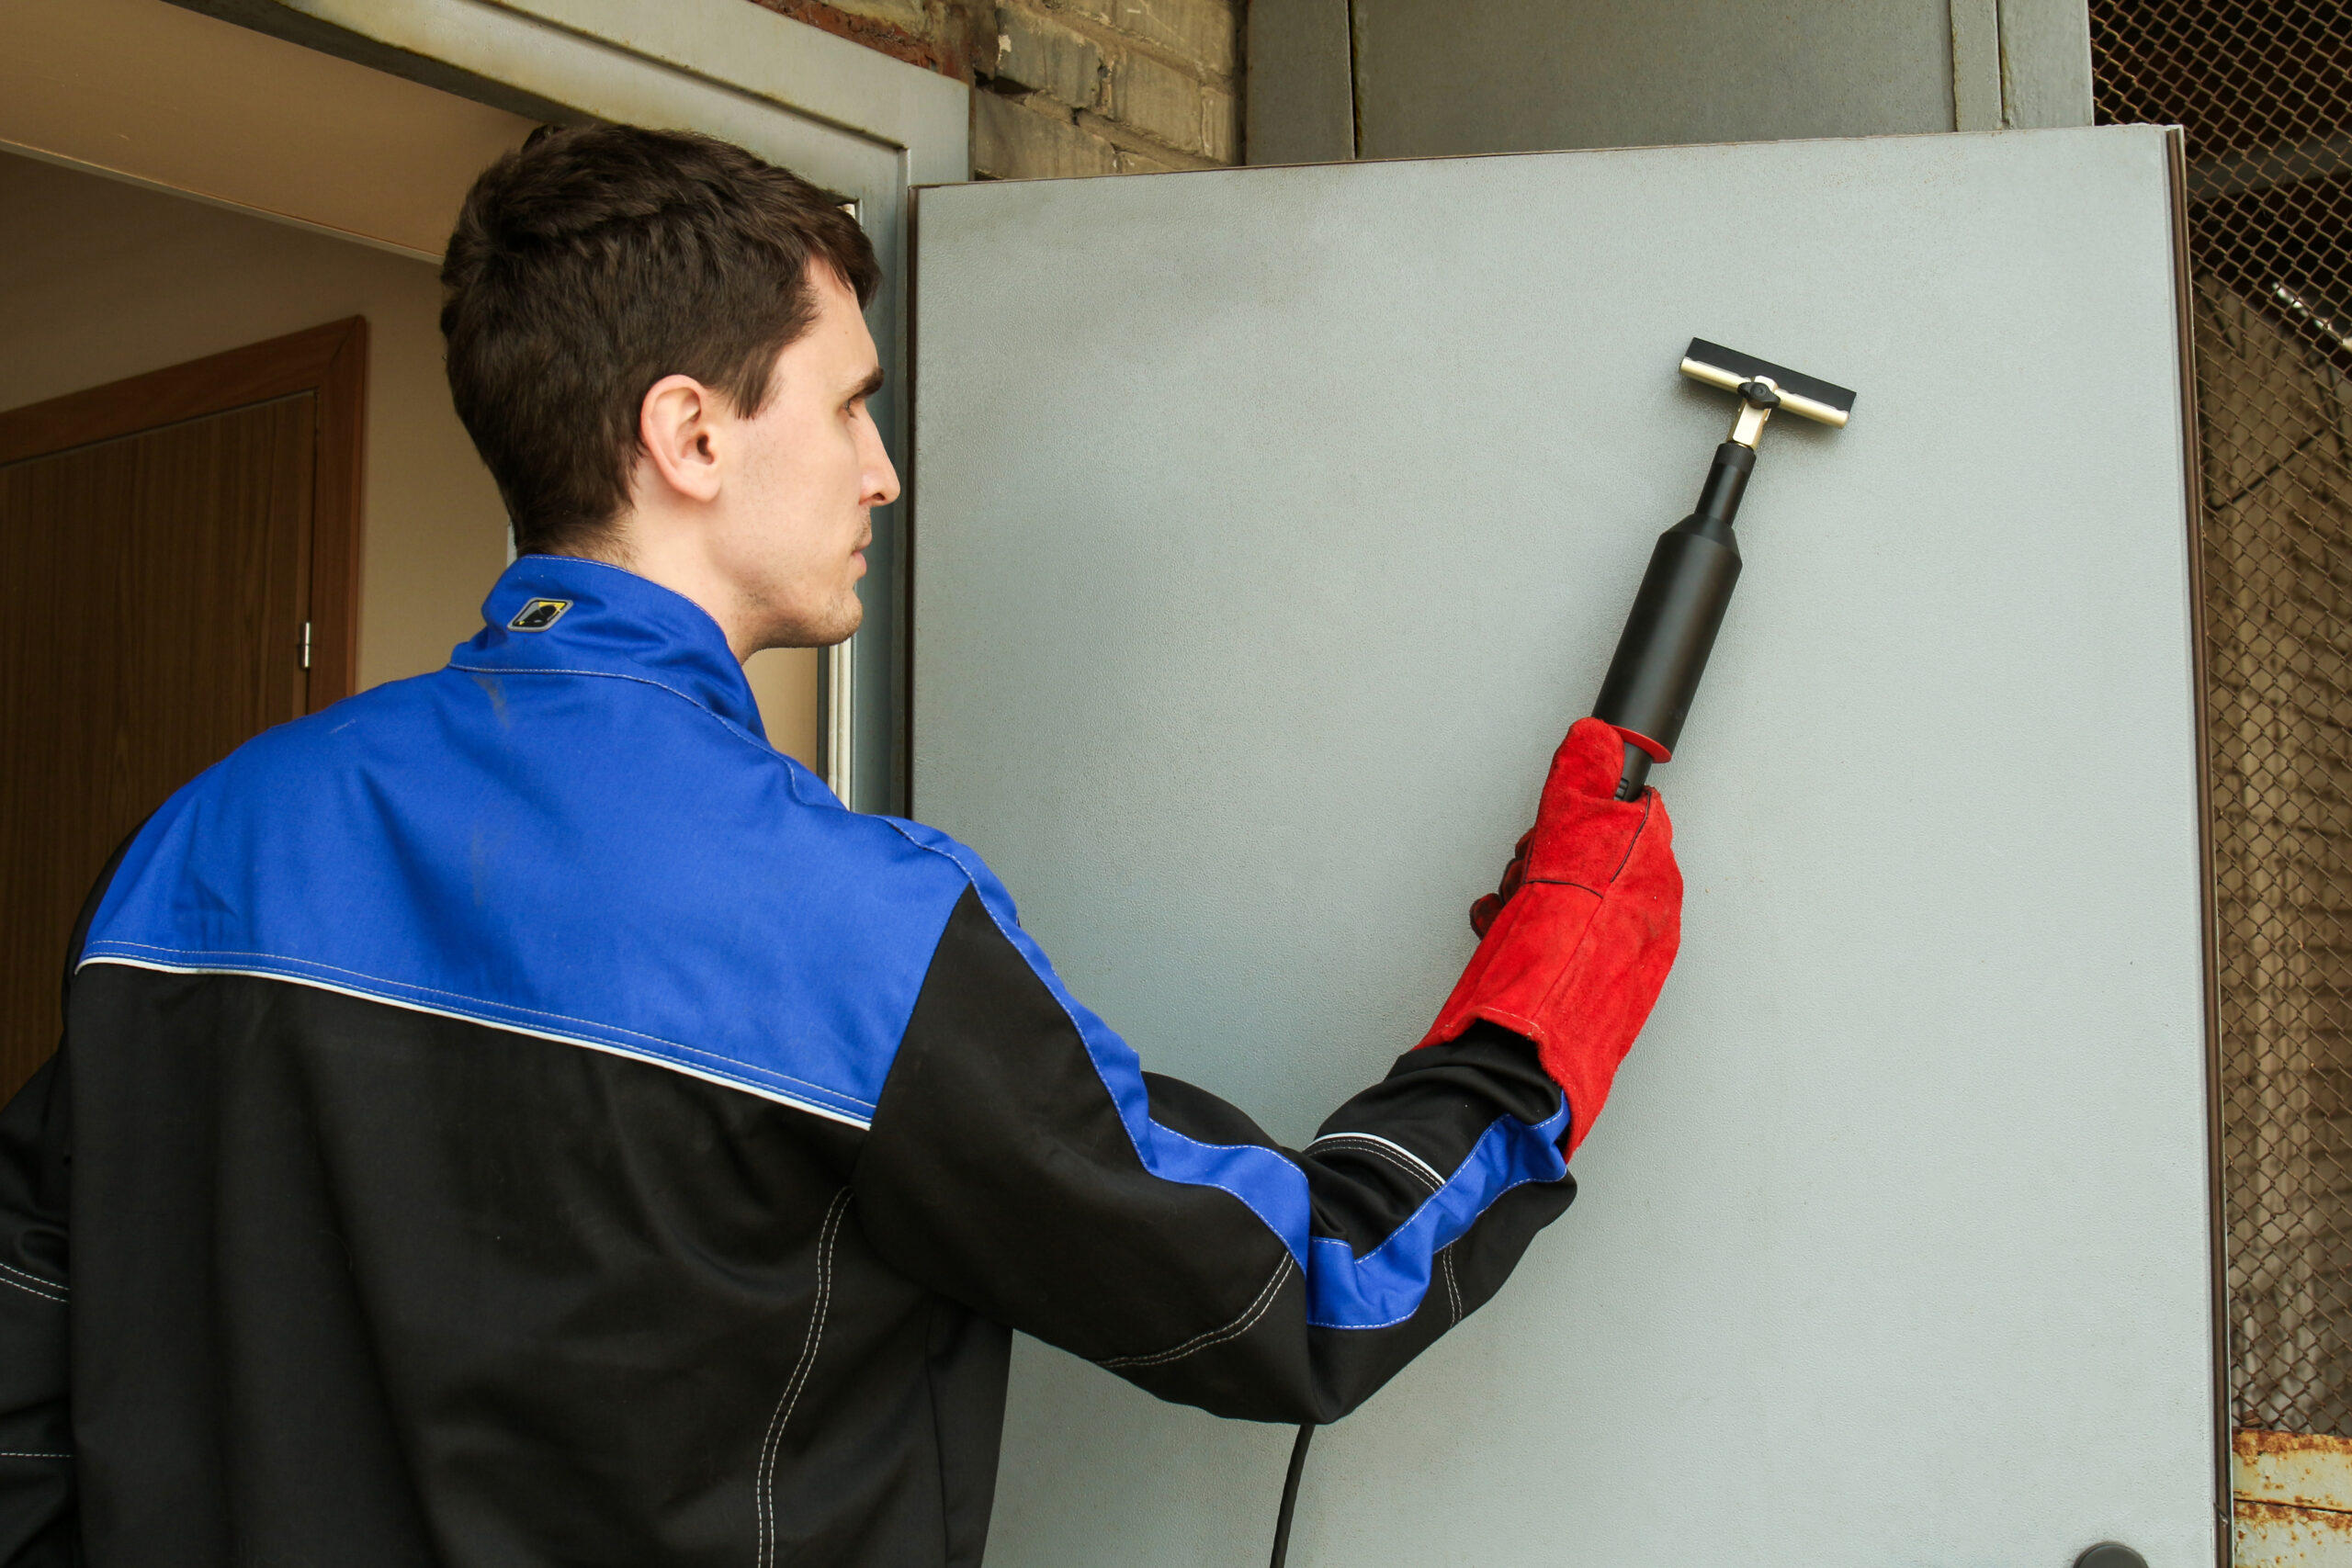 Features
– High accuracy of maintaining the test voltage on the electrode (not more than 2%);
– Powerful test voltage generator (up to 50 W);
– False defect detection system;
– The device has a digital interface containing:
1. test voltage calculator, which allows to calculate the test voltage based on the known thickness of the tested coating;
2. user calibration mode, which allows to correct the device calibration by the user during the entire device lifetime if the appropriate measuring equipment is available;
3. single-electrode testing mode, allowing to detect through coating defects without a connected earthing wire;
4. defect counter;
– Operating temperature range: from minus 40 °C to plus 50 °C;
– The weight of the control unit does not exceed 0.65 kg;
– Autonomous operation time (up to 20 h at a test voltage of 40 kV using a fan electrode).
Basic technical characteristics
| Technical data | Corona 40 |
| Minimum thickness of tested coatings, µm | 50 |
| Maximum thickness of tested coatings, mm, at least | 25 |
| Type of holiday detector | Pulsed |
| Test voltage range, kV | From 0.7 to 40 |
| Pulse frequency, Hz | 50 |
| Voltage setting error, maximum | 2% |
| Weight of the control unit, g, maximum | 650 |
| Overall dimensions of the control unit (DxWxW), mm, maximum | 240х149х50 |
| Overall dimensions of the high-voltage transformer-holder (ØxD), mm, maximum | Ø83х380 |
Delivery set
Control unit Corona 40, case for control unit, high-voltage transformer-handle VT-40, ground wire with magnet and crocodile clip, extender, battery, fan electrode, battery charger, operating manual.
Electrodes
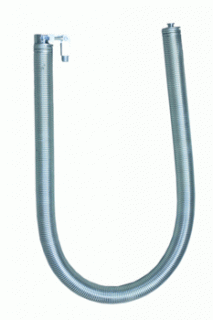
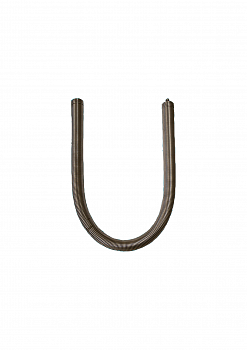
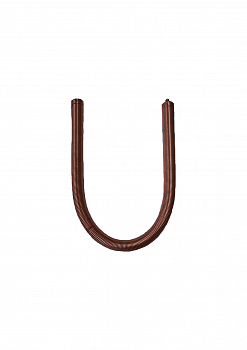
Rolling spring electrodes
Used to test insulating coatings on the outside surface of pipes. Available for pipes from 80 to 1620 mm diameter.
– Electrode B19 is made of beryllium bronze, spring diameter 19 mm. Designed for discontinuity testing of external coating on pipe with diameter from 80 to 424 mm.
– Electrode S19 is made of spring steel, spring diameter 19 mm. Designed for discontinuity testing of external coatings on pipes with diameter from 159 to 629 mm.
– Electrode S32 is made of spring steel, spring diameter 32 mm. Designed for discontinuity testing of external coatings of pipes with diameter from 425 to 1620 mm.
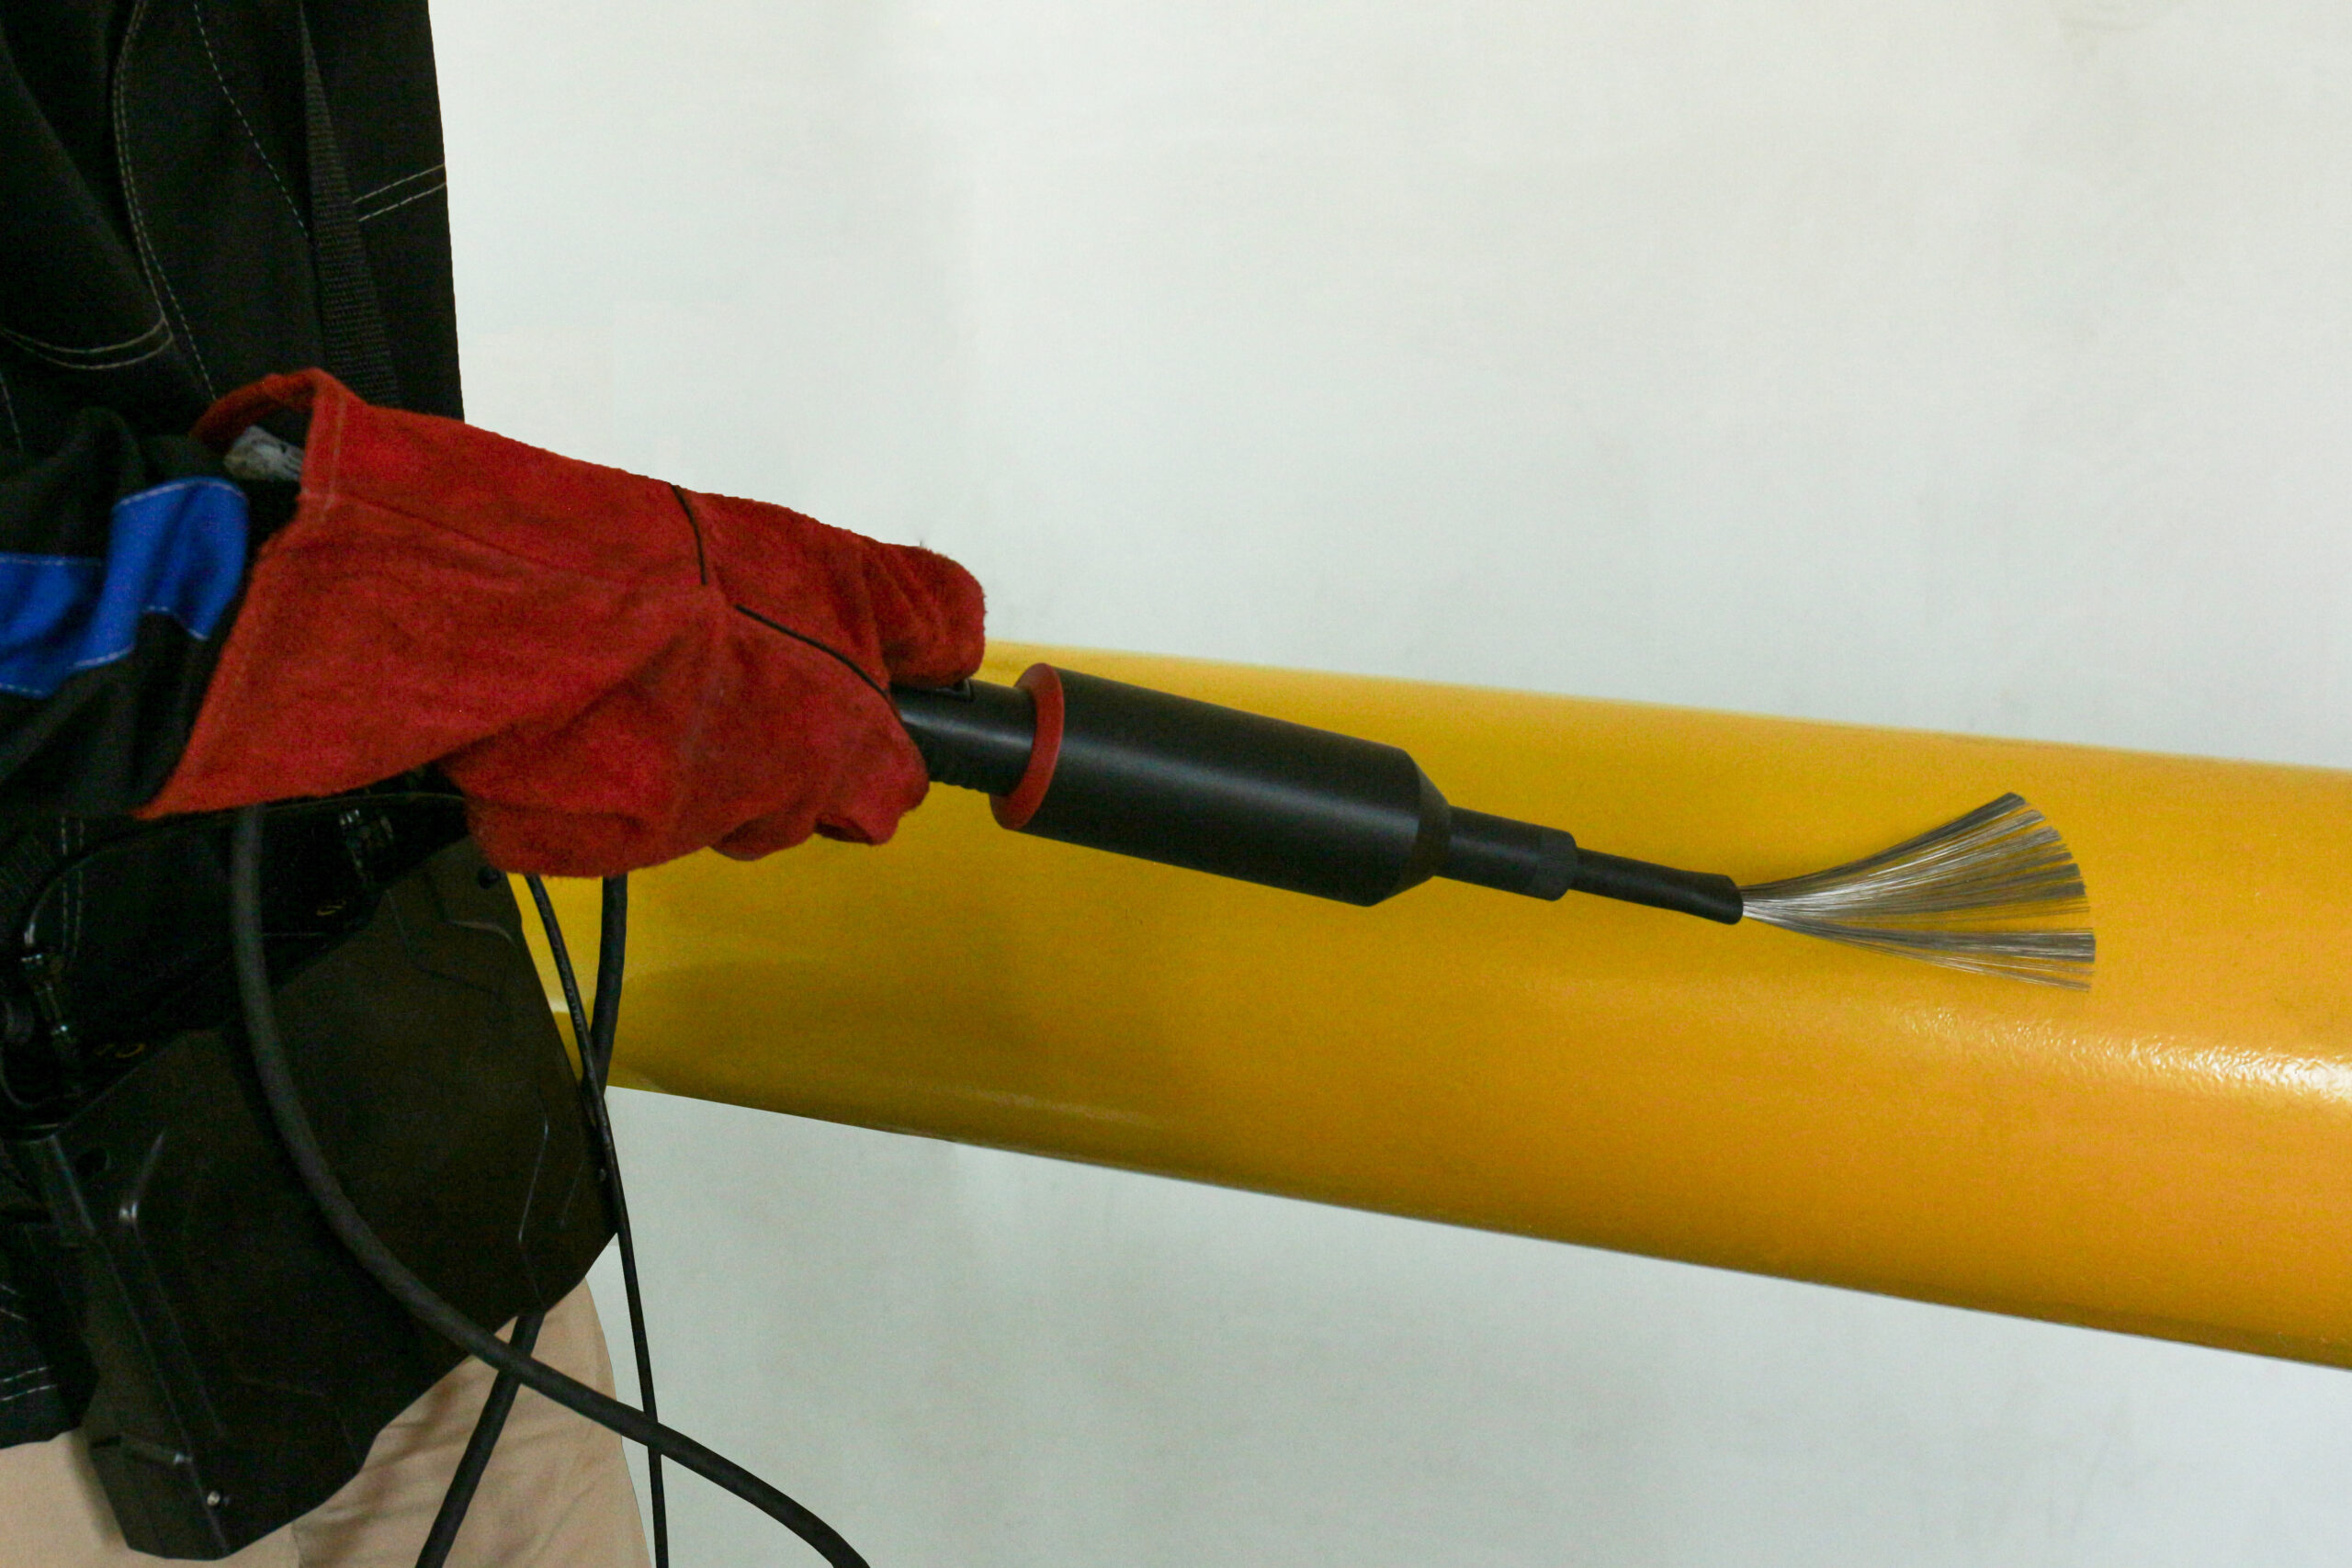
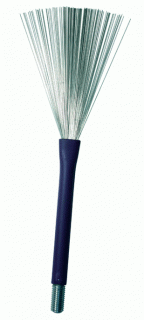
Brush (fan) electrode
Designed to inspect dielectric coatings of complex profile.
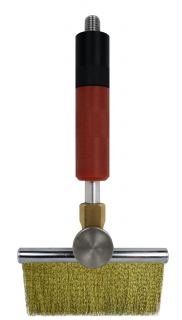
Brush (hair) electrode
Designed to inspect dielectric coatings with complex profile and larger area.
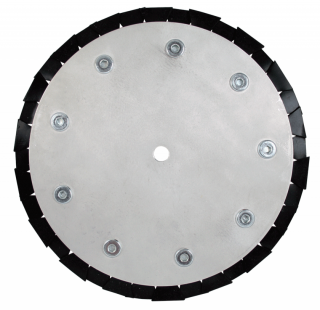
Internal pipe disk electrodes
Used to inspect insulating coatings inside pipes with the diameter from 30 to 1420 mm.
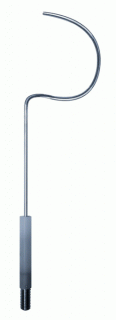
Crescent-shaped electrodes
Designed to define places of continuity violation on insulating coatings of the pipes from 25 to 1020 mm diameter.
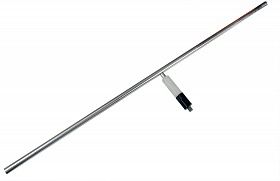
T-shaped electrodes
Used to test dielectric coatings of flat products.
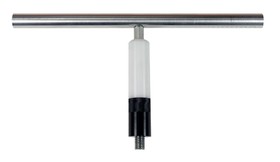
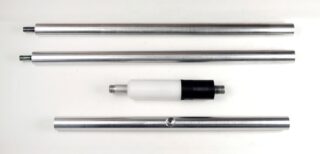
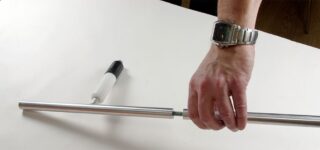
T-shaped tubular electrode (mountable)
Designed to inspect flat dielectric coatings, usually large areas like the roofs of buildings. Manufactured from 200 to 1000 mm. Since it is mountable, the width is adjustable.
Silicone rubber electrodes
Designed to define places of continuity violation on insulating coatings.
Straight silicone rubber electrodes: Suitable for testing coatings on larger flat surfaces.
![]()
Round silicone rubber electrodes (with hole): Used to test coatings on the outside of small pipes (from 25 mm diameter).
Curved silicone rubber electrodes: Used for testing the external surface of pipes.
Rubber ring electrodes: Used for inspection of the outer surface of pipes with the diameter from 30 to 1420 mm
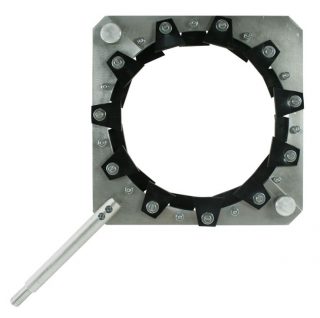
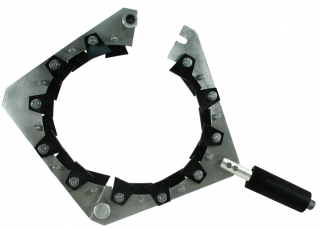
Special electrodes can be made according to customer’s own specification.
The UTPP is a state-of-the-art portable, lightweight and simple to use device for the non-destructive testing of joints in polyethylene tubes in water and gas distribution networks. It is a measuring device from Tessonics. It allows for the inspection of butt-welded and electrofusion joints on pipes with diameters from 50 to 320mm.
The device is based on modern electronics and has built in artificial intelligence algorithms (neural networks) which allow the operator to confidently find and classify defects. Pre-defined inspection plans significantly increase operator efficiency and minimise the potential for errors.
Features:
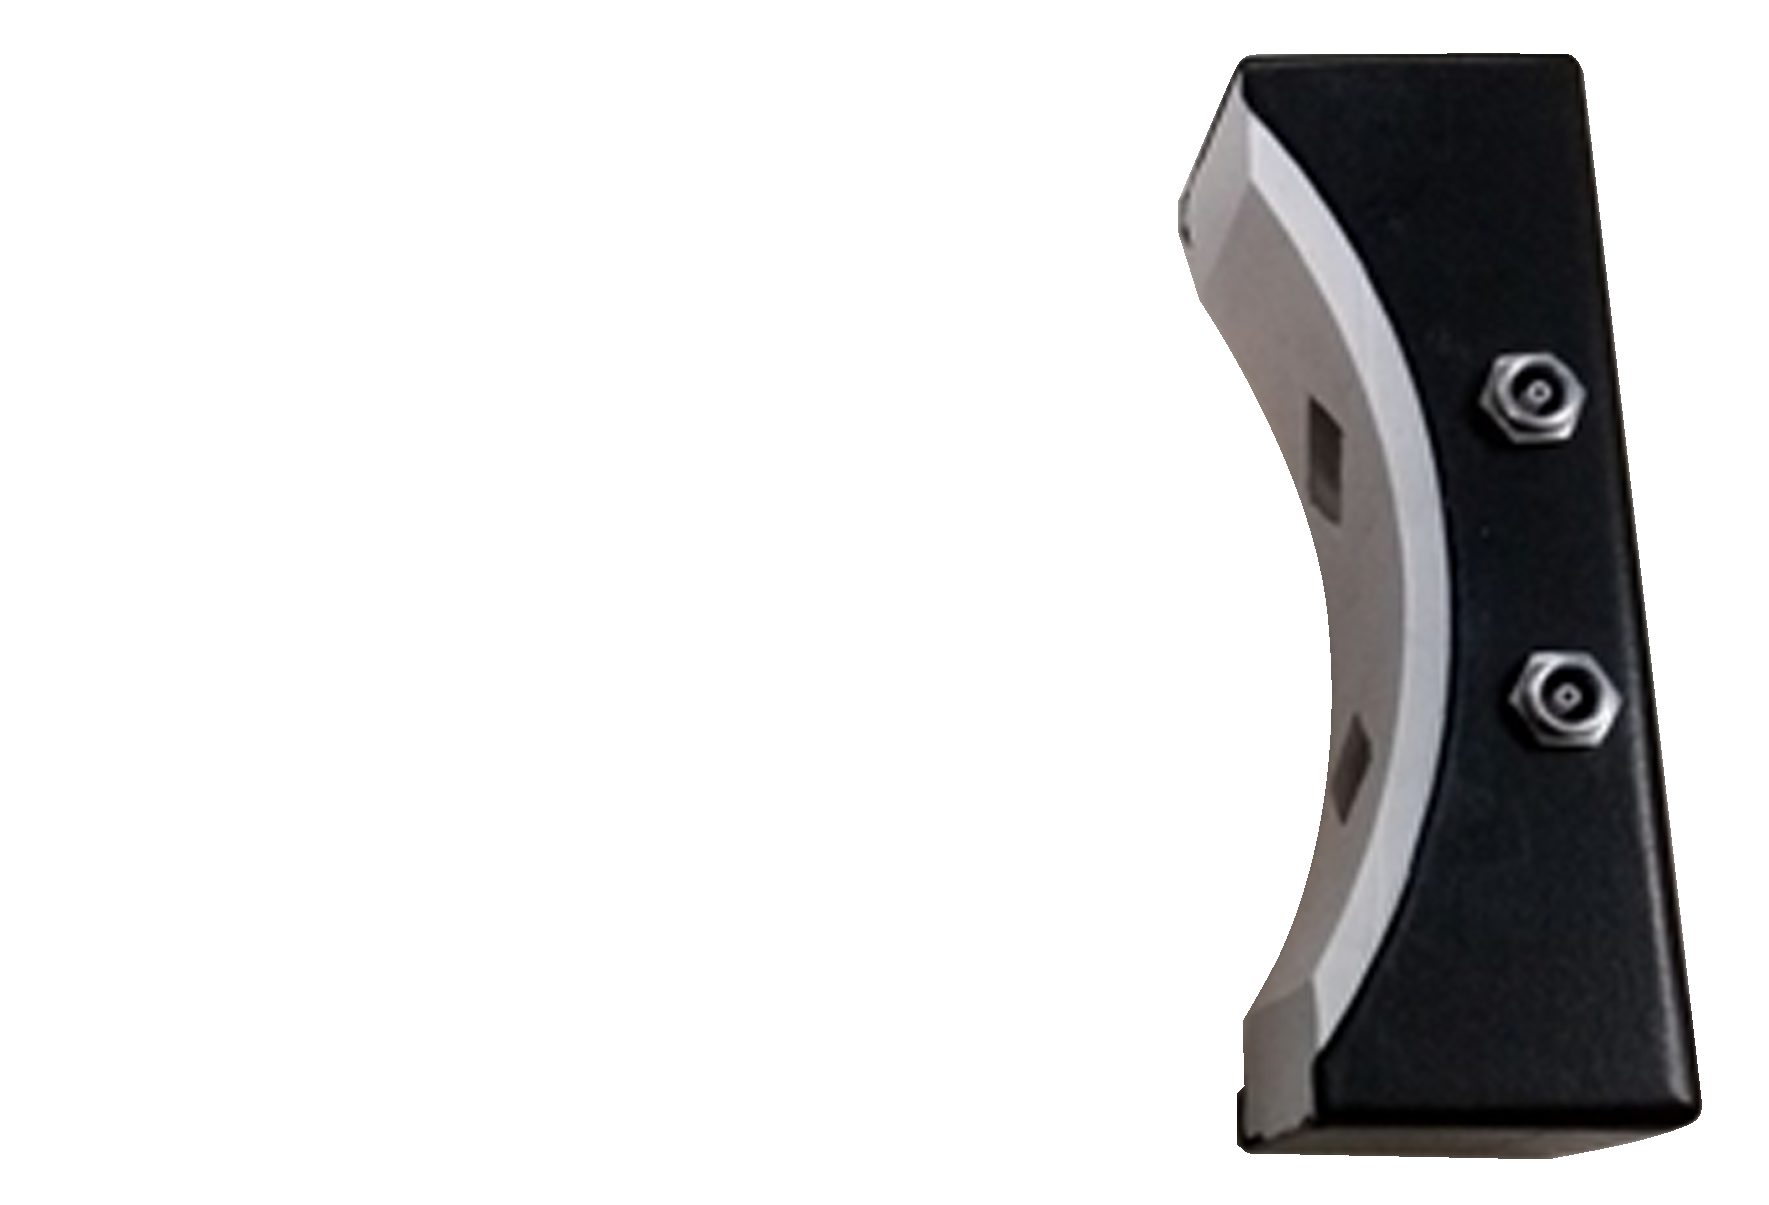
- The usage of a chord transducer for inspection
of butt-welded joints and a point contact
transducer for electrofusion joints - Automatic classification of defects
- Simple and intuitive interface
- Reporting system
Applications:
- Butt-welds and electrofusion joints in polyethylene
tubes of medium and high density (PE80,
PE100, PE2708)
Specifications:
Operating System
- Android 9.0
Processor
- Snapdragon Kryo 260
Display
- 7” LCD touchscreen
- Resistive sensor display
- Replaceable screen protector
Memory
- 6 Gb LPDDR4x
Storage
- 64 GB eMMC
Communications
- Wi-Fi 802.11 a/b/g/n/ac, 2.4 GHz and 5 GHz
- Bluetooth®
External Ports
- USB 3.1OTG, USB-C
Power
- Replaceable Li-ion 43.2 Wh
- Average battery run time: 9-12 hours
- DC adapter: 100–240 V, 65 W
Transducers
- Chord-type for SDR-11 tubes with diameters of 63, 110, and 160mm (other sizes on request)
- Single-element contact, 6mm
Mechanical
- Weight 950g
- Dimensions: 137 x 215 x 45mm
- Rugged all-weather housing
Replaceable polyurethane protector for ultrasonic transducers. The delivery set includes 10 pieces.
Manufactured for diameters: 24, 45, 57 mm.
The high-temperature gel for ultrasonict testing is used to ensure contact between the surface of the tested object and the contact surface of the ultrasonic transducer by eliminating the air gap.
| Application temperature range | -25 ° to + 250 ° |
| Colour | dark blue |
| Specific density | 1.26 g / cm3 (T = 20 ± 2 ° C) |
| Dynamic viscosity | 1726.2 Pa s (T = 20 ± 2 ° C) |
| Ultrasound propagation speed | 1840 m / s (T = 20 ± 2 ° С) |
High viscosity, high adhesion, can be easily removed from the surface.
The gel has anti-corrosion components. The gel is non-toxic.
It does not dry out outdoors for a long time.
Store in closed, well-ventilated rooms in original packaging at temperatures from + 5 to + 40 ° С.
It is not allowed to store the gel in the environments where acid vapors, alkalis and gases are present in the air.
The ultrasonic gel is used to ensure contact between the surface of the tested objected and the contact surface of the ultrasonic transducer by eliminating the air gap.
| Colour | clear |
| Specific density | 1.10 g/cm3 (T= 20 ± 2 ° C) |
| Dynamic viscosity | 210 Pa s (T = 20 ± 2 ° C) |
| Operating temperature range | from -30 to 110 ° С |
| Ultrasound propagation speed | 1410 m / s (T = 20 ± 2 ° С) |
High viscosity, high adhesion, can be easily removed from the surface.
The gel has anti-corrosion properties for the application on steel, titanium and aluminium that correspond to grade zero (no corrosion). The gel is non-toxic.
It does not dry out outdoors for a long time
Storage conditions: in closed containers in closed dry warehouse conditions at temperature from 25 °С, relative humidity 30-80%, avoid exposure to water, aggressive environments, direct sunlight.
The ultrasonic gel is used to ensure contact between the surface of the tested objected and the contact surface of the ultrasonic transducer by eliminating the air gap.
| Colour | Clear |
| Specific density | 1.10 g/cm3 (T= 20 ± 2 ° C) |
| Dynamic viscosity | 210 Pa s (T = 20 ± 2 ° C) |
| Operating temperature range | From -30 to 110 ° С |
| Ultrasound propagation speed | 1410 m / s (T = 20 ± 2 ° С) |
High viscosity, high adhesion, can be easily removed from the surface.
The gel has anti-corrosion properties for the application on steel, titanium and aluminium that correspond to grade zero (no corrosion). The gel is non-toxic.
It does not dry out outdoors for a long time
Storage conditions: in closed containers in closed dry warehouse conditions at temperature from 25 °С, relative humidity 30-80%, avoid exposure to water, aggressive environments, direct sunlight.

 +420 267 313 996
